This post may contain affiliate links. Please read our disclosure policy.
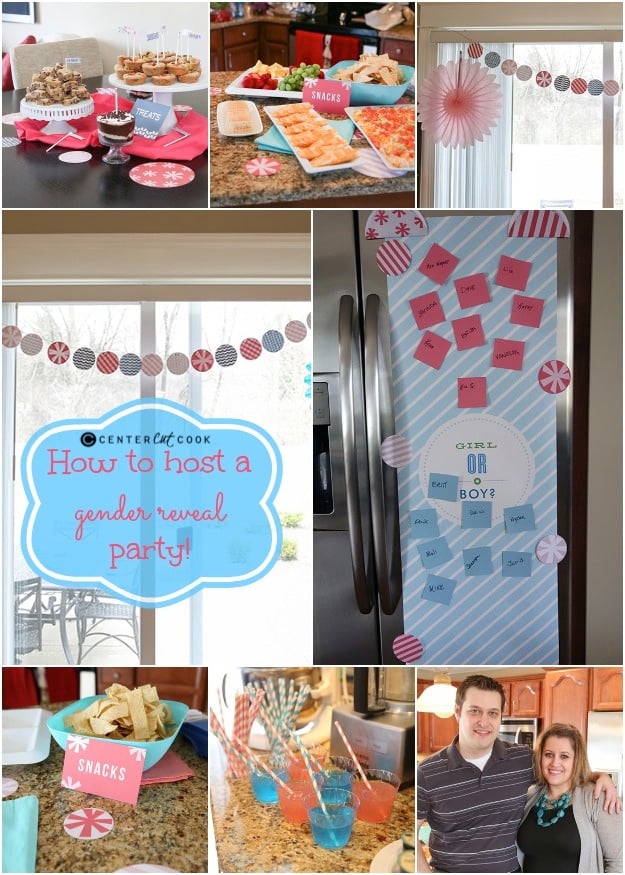
If you are on Pinterest, you know that gender reveal parties are kind of popular lately. I don’t know that I would have planned one, if it weren’t for that whole thing called cancer. Once we found out Ryan had cancer a week after finding out we were expecting, I wanted something fun to plan and look forward to, so I decided I’d host a gender reveal party!
Today I thought I’d share with you how I planned my party, but I also thought I’d share how I made the Gender Reveal Cucpakes which were essential for sharing the big news! Let’s get started, shall we?
DECOR
First things first, the party decor. What’s a party without fun decor? I just adore Minted.com for all kinds of printed goods from invitations and wall prints to cards and party decor. They were kind enough to send me ALL KINDS of fun goodies that had me grinning from ear to ear!
Look at all of this fun stuff? It was so hard to choose what to order because there were so many options. If you’re going to host your own gender reveal party, just browse around their website, particularly the Baby Shower Decorations section and you’ll find all kinds of fun goodies.
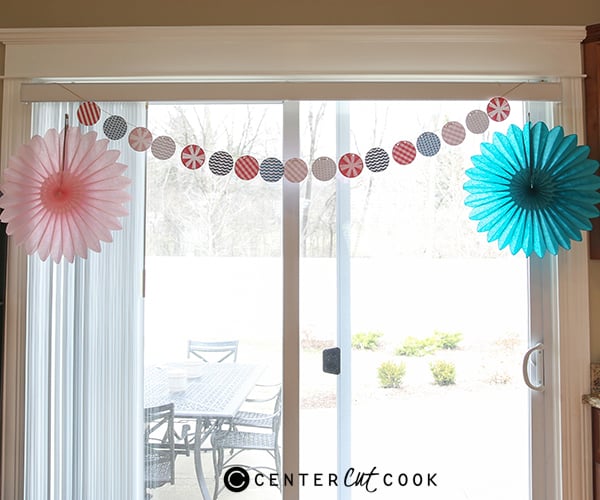
Most of what I got from Minted came from two different sections. For the blue, I went with items from the “Big Whale Little Whale Party Decor” section. For the pink, I decided to go with items from the Sparkle Fete Party Decor section. My favorites were the circle garlands that I hung above my door along with the little cupcake topper stickers that I put in all of my baked goodies. And then there were a couple of items that I selected that weren’t part of any package like those fun pink and blue striped paper straws. Love them!
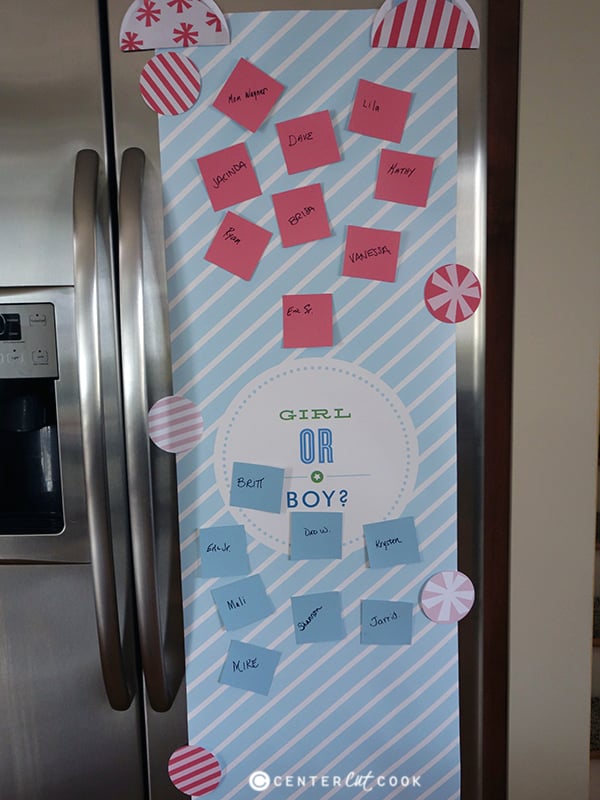
As everybody arrived to the party, I asked them to tell me their guess, boy or girl. I used this personalizable table runner and hung it up on my fridge, then used paint chip samples from Home Depot for everyone to write their name on. It was a fun way to get a visual as to what everyone’s guess was.
I can’t recommend Minted more highly. I’m already looking at their birth announcements which are just darling!
FOOD and DRINKS
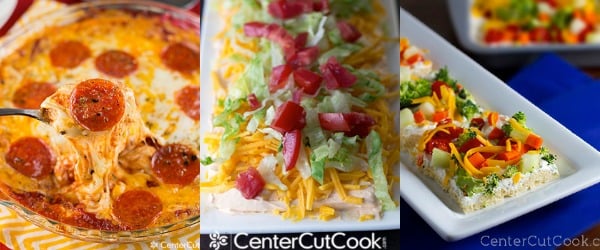
As far as food goes, I tried to keep things pretty simple. I went with a standard fruit tray and a plate of cheese and crackers. To accompany the fruit and cheese and crackers, I made a few appetizers including:
- Pizza Dip (recipe here)
- Taco Dip (recipe here)
- Veggie Pizza (recipe here)
For drinks, I wanted to keep a pink and blue theme so I served raspberry lemonade and blue gatorade. It’s harder than you might think to find a blue beverage!
INVITE
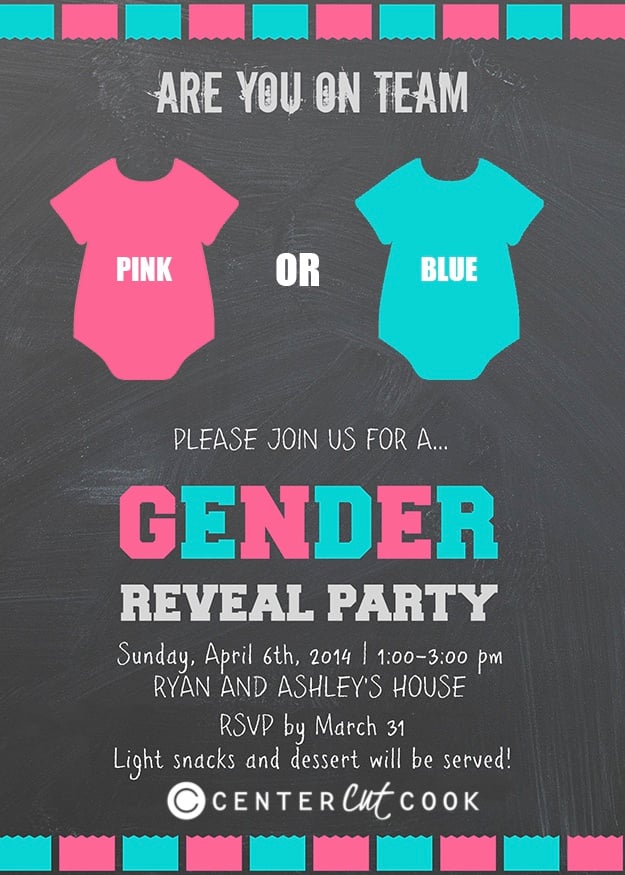
Here’s the cute little invite I put together and sent out. I used a combination of PicMonkey and Photoshop to make the invite.
GENDER REVEAL CUPCAKES
And now the cupcakes! You could always order cupcakes from a bakery, but making them really isn’t that difficult! Here’s how I made my own cupcakes.
Start with any 24 cupcakes of your choice. I had every intention of making my own cupcakes, but when I went to make them, I realized I was out of oil and resorted to a box mix I had in the pantry.
Next you’ll need to make some frosting. I used my homemade buttercream (recipe below). I divided the frosting in half and tinted one half pink and the other half blue.
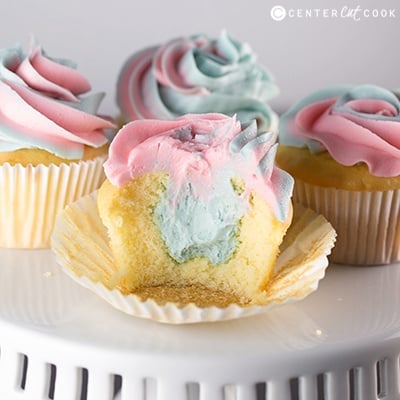
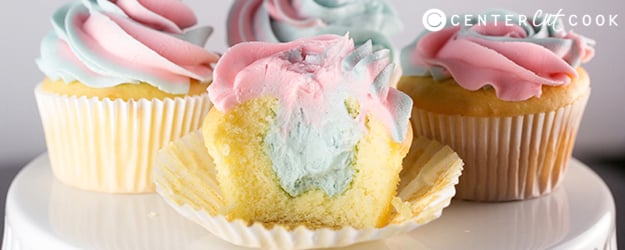
Then I filled a disposable decorating bag with about 1 and 1/2 cups of blue frosting, since we are having a boy. Obviously if you’re having a girl, you’d fill the bag with the pink frosting. Using the Wilton 1M tip, I pressed the tip right into each cupcake, going in about 1/2 inch or so, and squeezed some of the blue frosting so that the center of each cupcake was filled.
Then, I got another plastic disposable frosting bag fitted with that same Wilton 1M tip and placed it in a large plastic cup to support the bag. Now, here’s the tricky part. You’ll need to fill half of the frosting bag with pink frosting and half of the piping bag with blue frosting to get the pink/blue swirled look. I used the cup for support because it was much easier. When the bag is filled with frosting, you’ll begin to pipe the frosting onto each cupcake.
*Tip: Squeeze a bit of frosting out of the bag before you frost the cupcakes to make sure that both blue and pink frosting is coming out at the same time.
To frost, hold the 1M tip about 1/2 inch above the cupcake at a 90 degree angle. Squeeze the frosting out to form a star in the middle, then without letting up or releasing pressure, raise the tip a bit and begin squeezing the frosting in a clockwise pattern going around the cupcake. Once you’ve made a complete rotation and the entire cupcake is frosted, release the pressure to end the spiral of frosting.
*Tip: You can also purchase this Wilton Cupcake Decorating kit which will have the tip you need, and instructions on how to decorate cupcakes if you’ve never done it before. It really is very easy to do and doesn’t take much practice to get the hang of it.
That’s it! That’s all there is to it! Making gender reveal cupcakes is really pretty easy and will be the perfect way to share the exciting news with your family and friends. It might take a little effort to carefully fill half the bag with pink frosting and the other half with blue frosting, but it’s definitely do-able. Just use a small spatula to help.
If you have any questions about my gender reveal party, feel free to ask!
PS: Baby Boy Wagner will be joining our family in August! :)
Minted.com provided me with the decorations for this party. As always, all opinions are my own.
DECORATING INGREDIENTS
- 24 cupcakes of your choice
- Wilton 1M tip
- Disposable decorating bags
- Buttercream frosting
FROSTING INGREDIENTS
- 4 sticks butter
- 1/4 teaspoon salt
- 8 cups confectioners sugar, sifted
- 4 teaspoons vanilla extract
- 4-5 tablespoons milk
DIRECTIONS
- To make the frosting, use your mixer to cream butter until light and fluffy. Add in salt and vanilla.
- Add in confectioners sugar, one cup at a time until you’ve added all 8 cups.
- Slowly add in milk, one tablespoon at a time until you’ve reached the desired consistency. If the frosting seems too thick, add a little more milk. If you add too much milk and it seems too thin, add a little more confectioners sugar.
- Take about 1 and 1/2 cups of the frosting and tint it blue or pink, depending on the gender of your baby. Fill a decorating bag fitted with a Wilton 1M tip and press the tip about 1/2 inch into each cupcake. Fill the center of the cupcake with frosting, then pull the tip out and continue doing this to all 24 cupcakes.
- Divide the remaining frosting among two bowls. Tint one bowl blue and one bowl pink. I used about 12 drops of food coloring for each color.
- Get a new decorating bag fitted with the Wilton 1M tip and place the bag in a large cup for support. Carefully fill half the bag with the blue frosting and half the bag with the pink frosting. Squeeze a little bit of frosting out to ensure that both colors are coming out at the same time.
- Pipe the frosting onto each cupcake. Detailed instructions and photos above.
- You might have leftover frosting which is what I planned for. It is much better to have too much than to not have enough frosting.
Recipe from
CenterCutCook
