This post may contain affiliate links. Please read our disclosure policy.
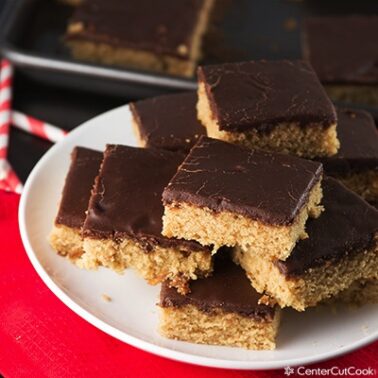
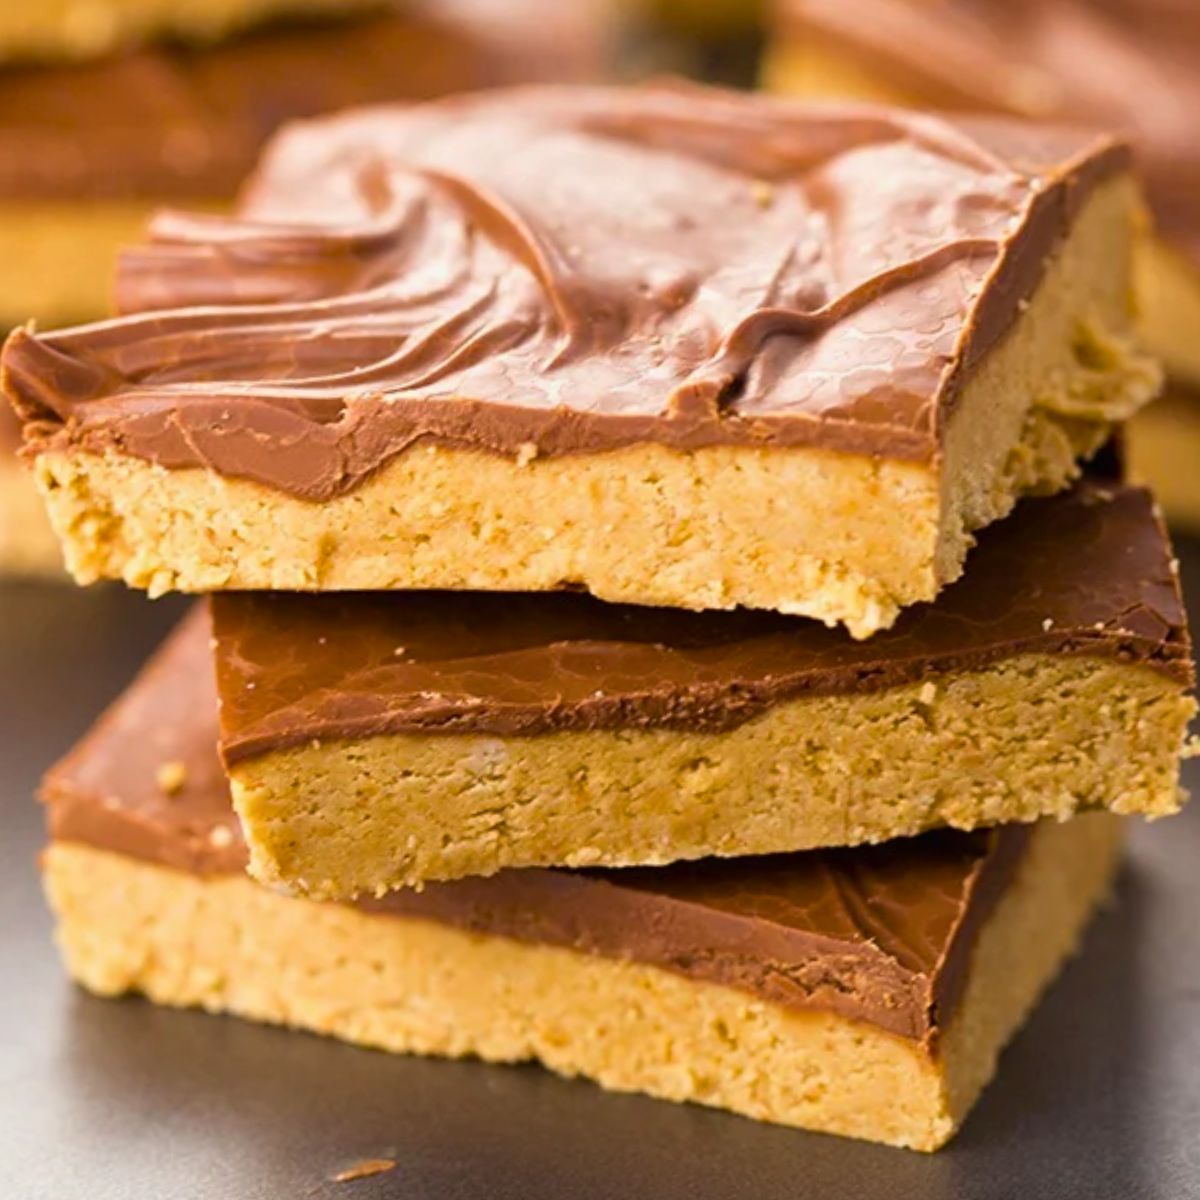
These no-bake Lunch Lady Peanut Butter Bars come from an actual school cafeteria recipe. Made with peanut butter, graham crackers and chocolate in a 9×13 inch pan.
Recreate the classic school cafeteria dessert recipe with this easy, no-bake peanut butter bars recipe. These peanut butter squares are rich, creamy, and topped with chocolate frosting for the ultimate no-bake dessert.
Pin this now to save it for later
Pin It NowLUNCH LADY PEANUT BUTTER BARS – EASY NO-BAKE SCHOOL CAFETERIA RECIPE

Is there a recipe that takes you back to your younger years in school? For me it’s these lunch lady peanut butter bars with chocolate frosting. The rich, creamy texture of peanut butter pairs perfectly with chocolate to create a balance of salty and sweet. It’s a treat that showed up on my lunch tray all throughout my school years.
This recipe comes directly from the lunch ladies at the school that my late husband and I attended. Back in high school, he was extra kind to the lunch ladies, hoping they’d add extra food to his tray. His favorite peanut butter squares were a special treat and often, the lunch ladies would add an extra to his tray. When graduation approached, he didn’t want to leave these squares behind, so he asked the lunch ladies for the recipe.
Initially, the recipe originally filled a giant tray meant to serve an entire school. I scaled it down to a more practical 9×13 inch version, but let’s be honest — I don’t think it’s possible to have too many peanut butter bars. 😉
Why You’ll Love This Recipe
- It’s an authentic cafeteria recipe!
- No oven required.
- You only need five ingredients.
- It’s perfect for making ahead!
Let’s head to the kitchen and make these nostalgic Lunch Lady Peanut Butter Bars – a no-bake treat that’s as easy to make as it is to love!
❤️ Ashley
PS: If you’re looking for more delicious peanut butter treats, try my Peanut Butter Buckeye Bars or my Peanut Butter Cup Fudge.
What are Lunch Lady Peanut Butter Bars?
There are baked and no-bake versions of lunch lady peanut butter bars floating around. This is the graham-cracker, no-bake cafeteria version that I grew up eating in the 1980’s and 1990’s. This comes from the lunch ladies at the school I attended. I scaled it back from a school-sized batch to a 9×13 inch pan.
To make this delicious, no-bake treat, gather the ingredients. The full list of ingredients and amounts is found below in the printable recipe card.
Ingredients
The complete ingredient amounts are included in the printable recipe card below.
For the peanut butter bars:
- butter: salted or unsalted is fine. I use salted butter in this recipe. When using unsalted butter, add a pinch of salt.
- powdered sugar: Sifting powdered sugar is helpful if it’s clumpy, but it’s not absolutely necessary. I usually skip this step to save time, especially in this recipe where a perfectly smooth texture isn’t a concern.
- graham cracker crumbs: 12 graham crackers yield 1 and ½ cups of graham cracker crumbs.
- peanut butter: creamy peanut butter is recommended. Use crunchy peanut butter if you like the crunchy texture.
For the chocolate frosting:
- semi-sweet chocolate – I use semi-sweet chocolate chips. Follow the melting instructions according to package directions.
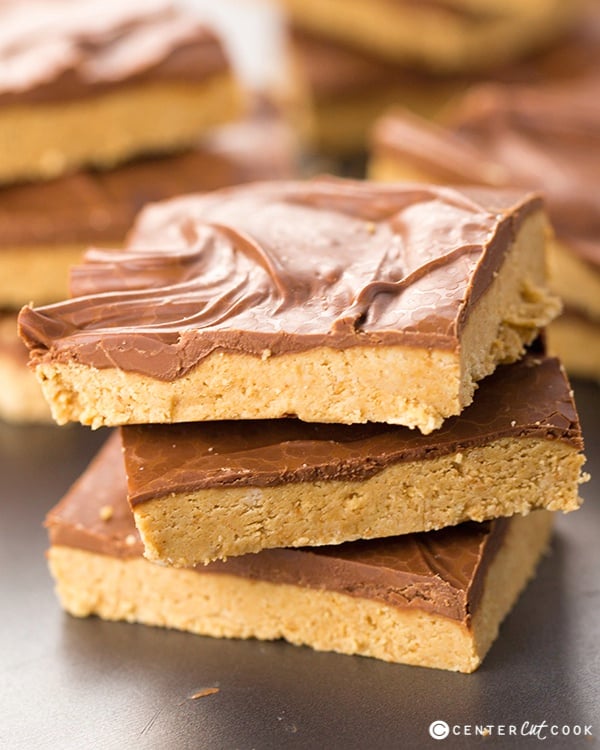
How to make no-bake lunch lady peanut butter bars:
- Make the peanut butter layer: combine melted butter, powdered sugar, graham cracker crumbs, and peanut butter
- Prepare a 9 x 13 inch dish: line a baking dish with foil to make it easy to remove the bars once set. Spray with non-stick spray.
- Press the peanut butter layer into the dish: ensure mixture is evenly spread out.
- Melt the chocolate: then spread in an even layer over the bars.
- Cut the bars: while the chocolate is still warm, cut into bars.
- Set: Allow the peanut butter bars and chocolate to set for about 1 hour before serving.
Tips for the Best Peanut Butter Bars
- Use no-stir peanut butter: natural peanut butter can separate and change the consistency. I do not recommend using all natural peanut butter.
- Make fine graham cracker crumbs
- Pack the base firmly: This helps the peanut butter layer hold together when cut.
- Score the chocolate before it hardens: This is the easiest way to prevent the topping from cracking when you slice the bars.
- Use a warm knife for clean cuts: Run your knife under hot water, then dry it before cutting.
To sum up — if you are as obsessed with peanut butter as much as I am, you have to try these Lunch Lady Peanut Butter Bars! The creamy peanut butter base pairs perfectly with the chocolate frosting on top. What’s more, the fact that this is a no-bake easy dessert makes it even better! Give them a try and let me know what you think. I love to hear from you!

Lunch Lady Peanut Butter Bars
Ingredients
- ½ cup salted butter, melted
- 2 cups powdered sugar
- 1 ½ cups graham cracker crumbs about 12 graham crackers
- 1 cup peanut butter
- 12 ounces semi-sweet chocolate
Instructions
- Cut butter into chunks and place in a large microwave-safe bowl. Microwave for about 1 minute or until butter is melted.
- Stir in powdered sugar, graham cracker crumbs, and peanut butter. Stir well until all of the ingredients are incorporated.
- Line a 9 x 13 inch dish with foil. Drape the foil over the sides of the dish so that you can easily remove it once the bars set. Lightly spray with non-stick spray.
- Press the peanut butter mixture into the bottom of the dish.
- Melt the semi-sweet chocolate according to package directions. Once melted, spread the chocolate over the peanut butter mixture.
- While the chocolate is still warm, cut the bars. Allow to set for at least an hour before serving.
Notes
- For the best texture, use a conventional no-stir peanut butter.
- Salted butter helps balance the sweetness. If using unsalted butter, add a pinch of salt.
- Store the bars in an airtight container in the refrigerator for up to one week.
- For clean slices, score the chocolate before it hardens and cut with a sharp, warm knife.
FAQ
Yes, if you prefer a little texture, you can use crunchy peanut butter.
Yes, once the chocolate frosting has set, cut them into squares and arrange in a freezer-safe container. Use parchment paper to separate layers of peanut butter bars. Freeze for up to two months. Thaw in the refrigerator.
Natural peanut butter, the kind you have to stir, is not recommended for this recipe. It can cause the bars to not set properly.
More Peanut Butter and Chocolate Desserts
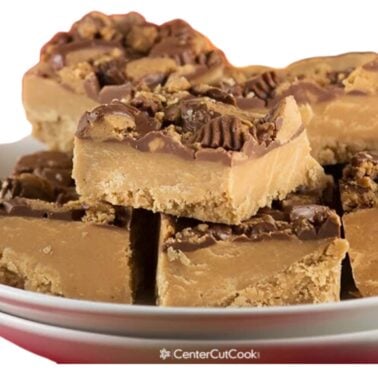
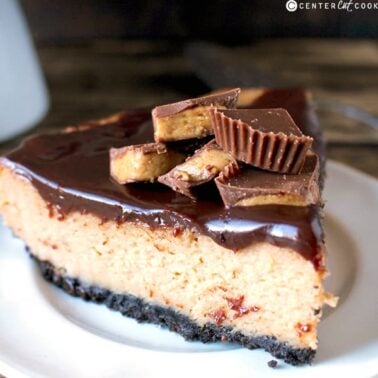
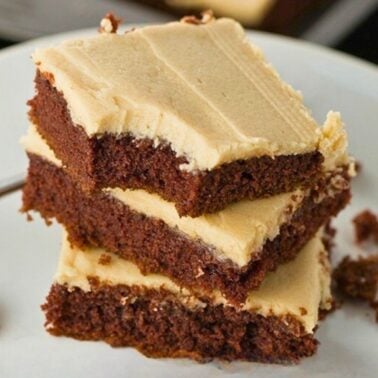
Lastly, if you can’t get enough of peanut butter and chocolate, there’s no shortage of desserts around here to satisfy your cravings. Whip up a batch of Easy Peanut Butter Cup Fudge, Peanut Butter Buckeye Bars, Chocolate Cupcakes with Peanut Butter Frosting, or try any of the others listed below. Enjoy!